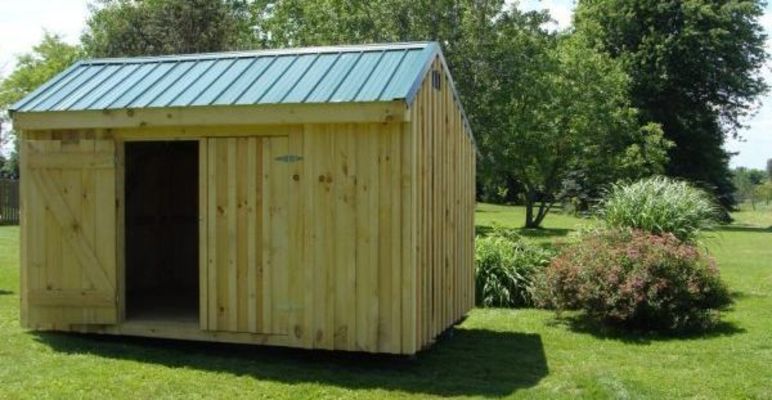
Timber Outbuilding Making Drafts 8 x 10 - Ideal Steps to Build a Perfect Shed
The variety of timber species and colors just adds to the look of finished product. Add a few labels for better organization, and you've got a great solution. The plate can then be cut out after construction is complete. Check if edges of sheets are flush with the frame, before driving in the screws. Temporarily stack similar-sized cripple studs and headers neatly. In addition, although it might look bulky to most of you, (https://shedblueprintsdiy.com/garden-shed-blueprints-free) by choosing proper lean to shed plans free, you would create a significant storage space in your backyard. Or, if you wished to pull a garden tractor with implement or trailer behind it, you can drive in one door.
Small birdmouths needed to be slice out. Notice how the floor beams sit directly above studs from below and upper floors studs sit in the joists. Floor joists, constructed from large-dimension lumber, bear the weight of structure above, so notching them isn't recommended. You can do your wallet a favor and stock up on hardware like basic nails and screws that you will be using for many different projects. In order to get the job done in a professional manner, we recommend you to take accurate measurements, to mark the cut lines on grooved plywood with a pencil and to build the cuts with a jigsaw.
This shows you where you need to place piers. Mount hanger brackets to the top of the door. If you're (go to this site) planning to create your shed on an elevated base or foundation, it can still be well secured against wind forces. Cover shed frame in building wrap or builders felt. This does reduce area of post that comes in contact with ground but for my application there is plenty left with little to no strength comprised. The run is distance from one supporting wall to centerline of shed for a gable roof. However, like stick-built gable roof, this one could be more challenging to build as you would not be able to use any type of pre-built roof truss.
Processing video...
Shorter exterior screws were added all along outside bottom edges of panels where they cover the floor frame. Nail the king studs in position, then nail the jack studs into the king studs and attach the header. Smooth edges with sandpaper and remove the residues. Sight down length of studs and set aside the ones that are perfectly straight. Usually a floor structure built on and attached to 2 or more large pieces of lumber that are used to pull or skid it from location to location, and then leveled. You can buy shed ground anchor kit at most building stores.
Nail through top and bottom plates into each end of the common studs. But a gable roof also requires some form of horizontal bracing because weight of roof causes the rafters to spread at the eaves. Make sure there are no gaps between the sheets before inserting the galvanized screws. The municipality may then need to survey site and the neighbors to create sure they don't object to your new construction. This could be my rain-proof, rot-proof cladding. Foundation kits are available in various styles. Then pre-assembled end was pushed into place. Do same again for the door frame. Investing in cedar or other weather resistant lumber is a good idea, as it would pay off on long run.
Check out the rest of the project, to see all about building a door and fitting rest of the trims. It is water permeable to allow water through but stops weeds from coming up through. Consider low-maintenance alternatives Because a outbuilding is going to stay in your backyard and isn't as permanent as your home, you could get away with a few things that would look ugly on your house to save money and time spend on repair later on. You could also snap a chalk line before locking shingles into place, to be a guidance line. We could help supply paperwork you would need for fast permit approval.
Another method involves cutting holes in bottom of the shed beside steel ribs. Although this project won't create you garden stand out, it is a wise choice if you need a decent amount of storage space and you have an average budget for job. The idea of building by yourself might seem a bit daunting at first. To mark the post locations, lay out a corbel and some offcuts of posts. Use this as a template or use a protractor to calculate angle. Preparing your site for a pier outbuilding foundation is a multistep process, and failing to prepare properly could have consequences.